Collaborations
Andreas Ruthi
I collaborated with Andreas on a number of projects during the final year of my Masters degree.
I am going to talk about the second project because it touches upon everything I love about working with an artist.
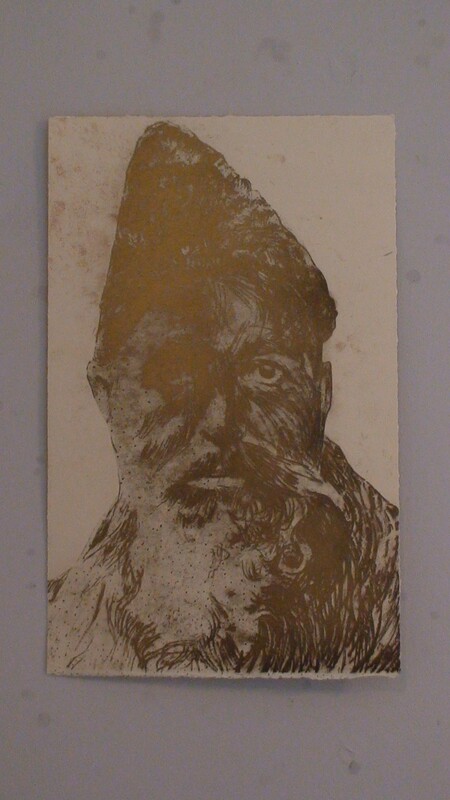
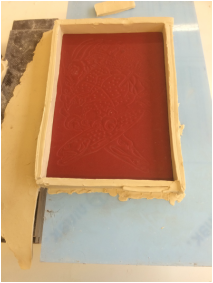
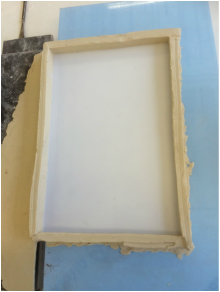
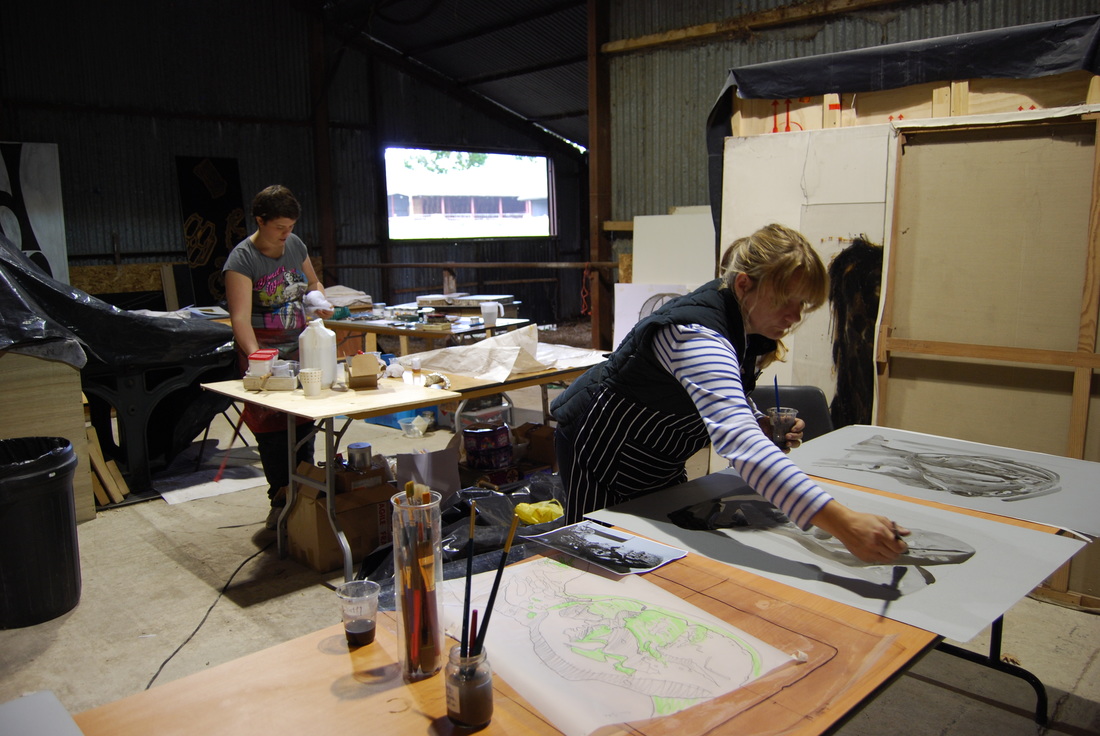
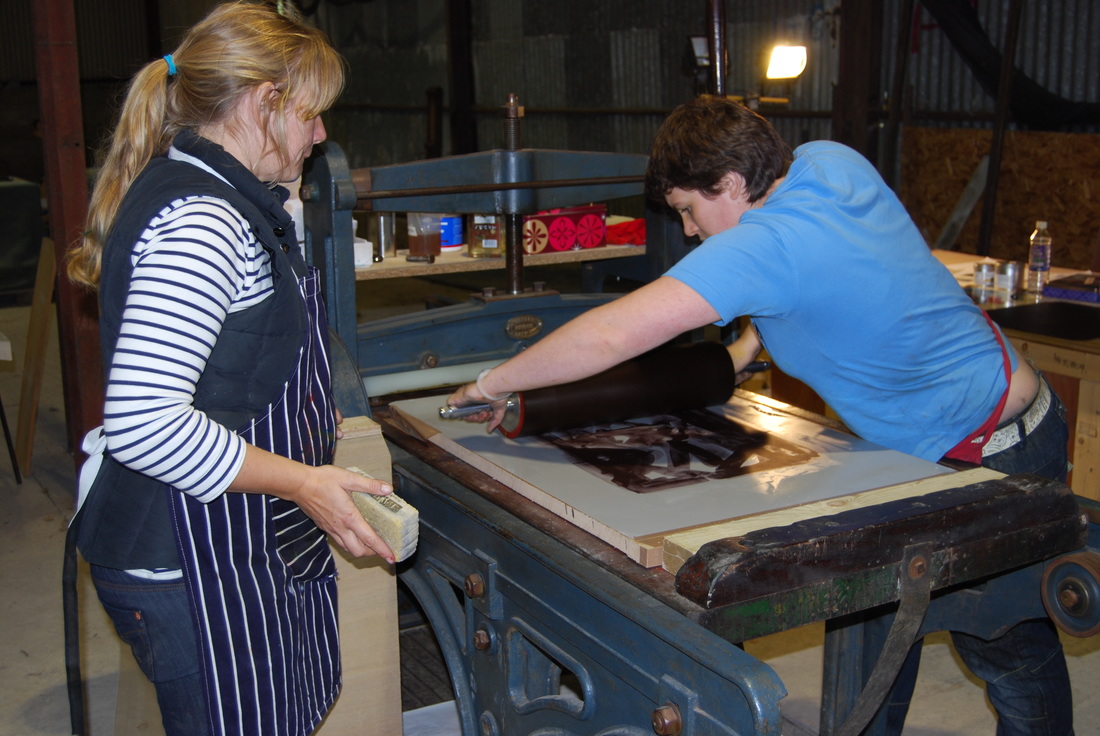
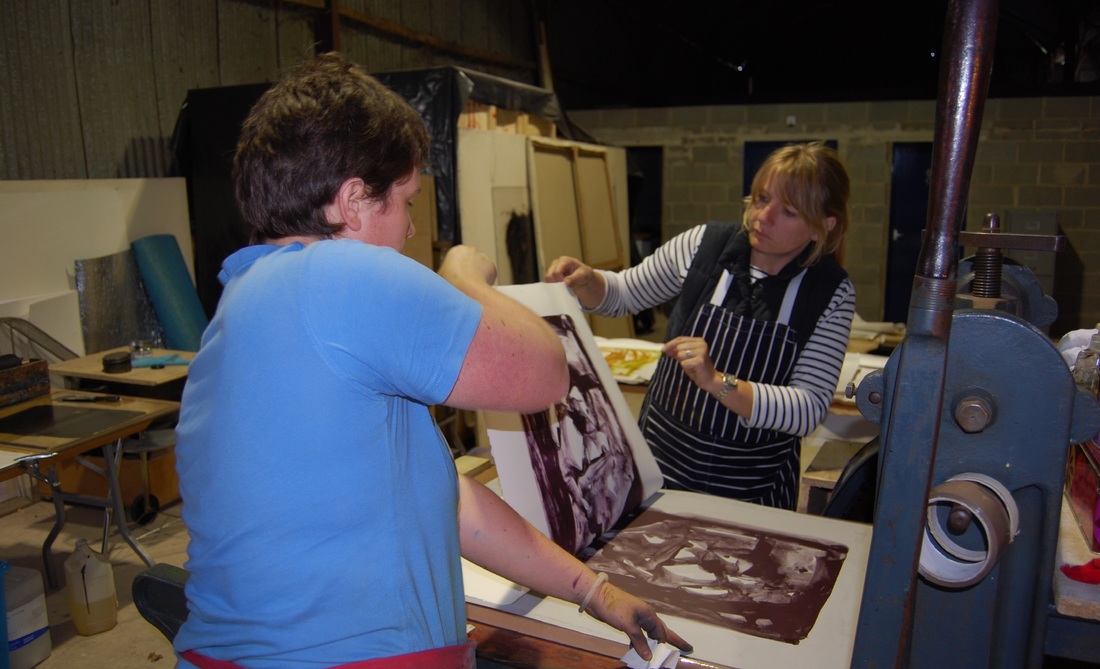
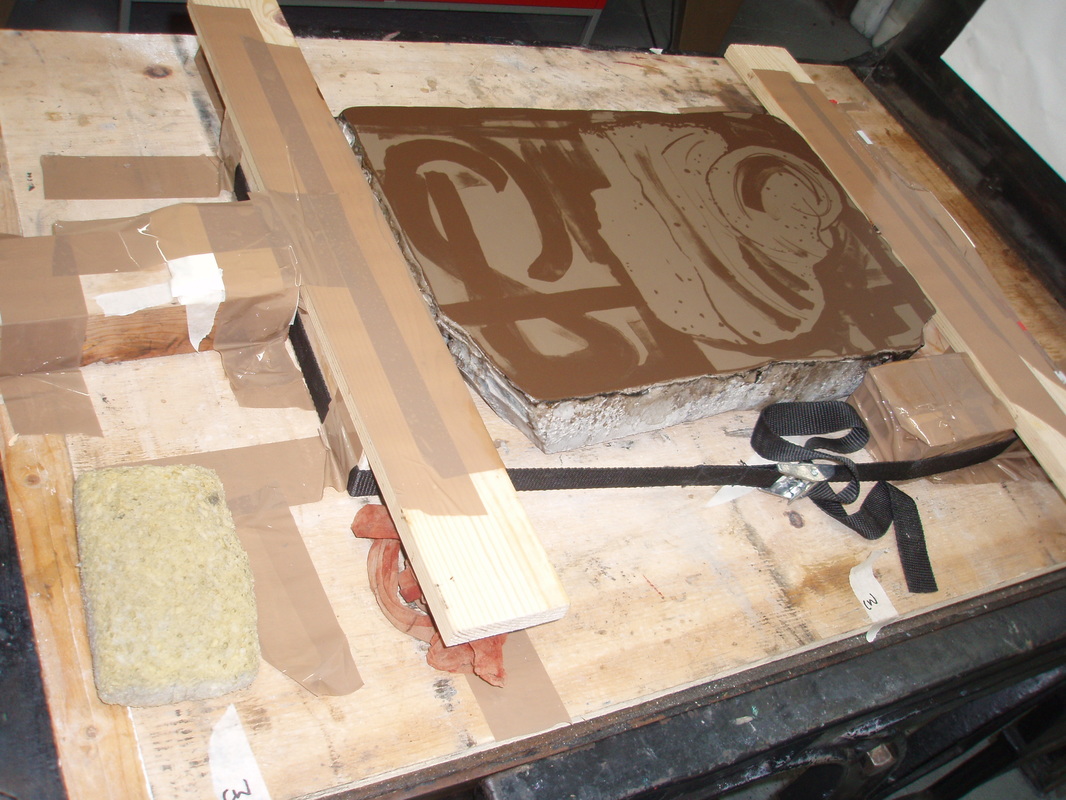
Back in October 2015 Andreas presented me with an old cooking book with a beautiful embossed cover. He wanted an impression taken from that book without any damage being done to the book itself. The easiest solution would have been to just ink the book up. With the help of Staff at UWE's fabrication centre I was shown how to make a silicon cast, which is what the first two images show. The third shows the cast inked up in Graphic Chemical water based ink (oil based ink will not stick to silicone). After inking up the plate I then had to carefully wipe around the lines with rags an cotton buds to remove any unwanted ink. The final image shows the print after all the wiping had been carried out. Initially the image was proofed in a similar colour palette to the book. Three proofs were pulled with the line drawing situated on a couple of different backgrounds. After sitting with the image for a while Andreas has decided to play with the images composition and scale, so that is what I will be proofing next.
I had never taken a cast off a book before or printed from silicone until this collaboration, and that is the reason why I collaborate. To learn and experience something new, to be set a new challenge and most importantly; enable an artist to create a new piece or body of work.
I am going to talk about the second project because it touches upon everything I love about working with an artist.
Back in October 2015 Andreas presented me with an old cooking book with a beautiful embossed cover. He wanted an impression taken from that book without any damage being done to the book itself. The easiest solution would have been to just ink the book up. With the help of Staff at UWE's fabrication centre I was shown how to make a silicon cast, which is what the first two images show. The third shows the cast inked up in Graphic Chemical water based ink (oil based ink will not stick to silicone). After inking up the plate I then had to carefully wipe around the lines with rags an cotton buds to remove any unwanted ink. The final image shows the print after all the wiping had been carried out. Initially the image was proofed in a similar colour palette to the book. Three proofs were pulled with the line drawing situated on a couple of different backgrounds. After sitting with the image for a while Andreas has decided to play with the images composition and scale, so that is what I will be proofing next.
I had never taken a cast off a book before or printed from silicone until this collaboration, and that is the reason why I collaborate. To learn and experience something new, to be set a new challenge and most importantly; enable an artist to create a new piece or body of work.
|
|
|
|
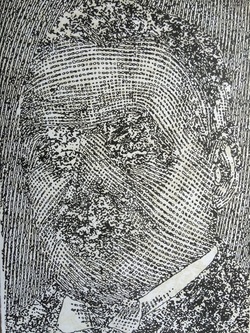
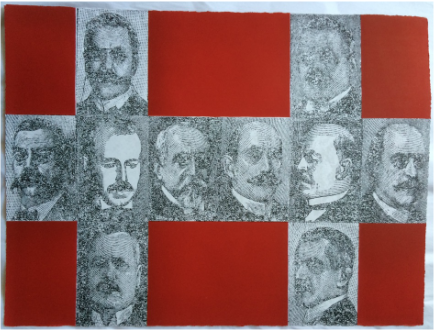
Left: Colour proof from Heads of State.
Right: Final Print; edition of 25 |
|
John J Lynch
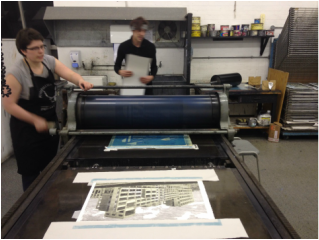
In the 2014 I collaborated with John printing a four colour woodblock on an offset press at UWE, Bristol. John had already printed this image using a more traditional printing technique but wanted a mirror image of his print to display next to it, which is why we printed on the offset press. John is an amazing artist and woodcutter so it was an absolute pleasure working with him on this project.
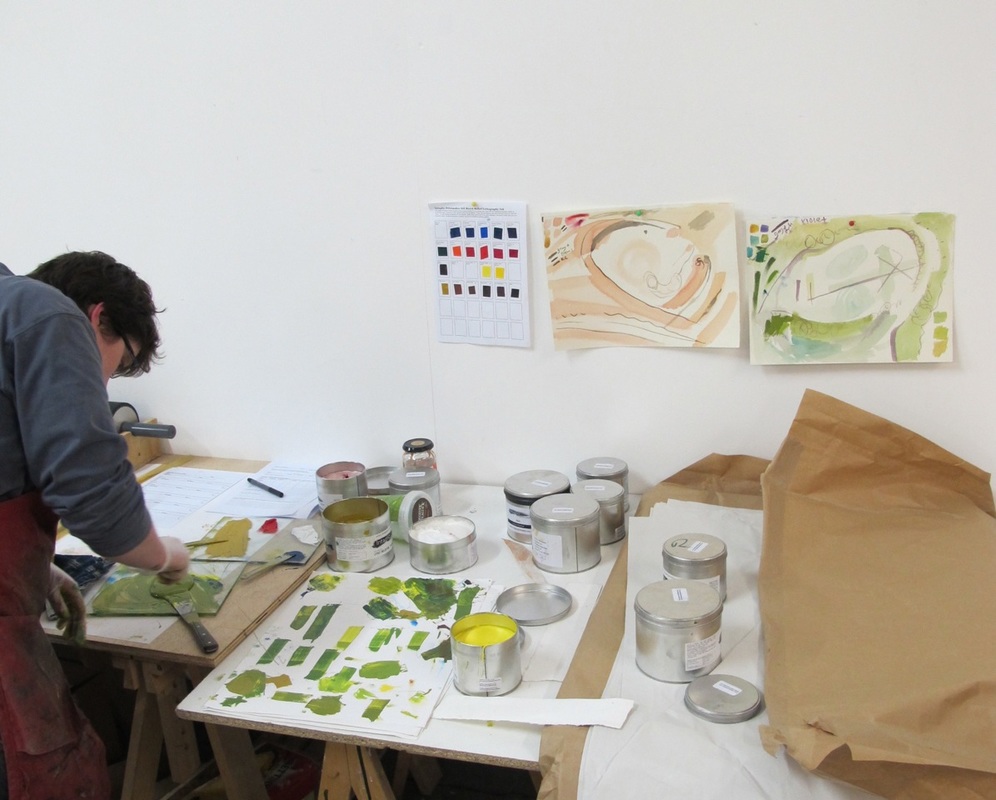
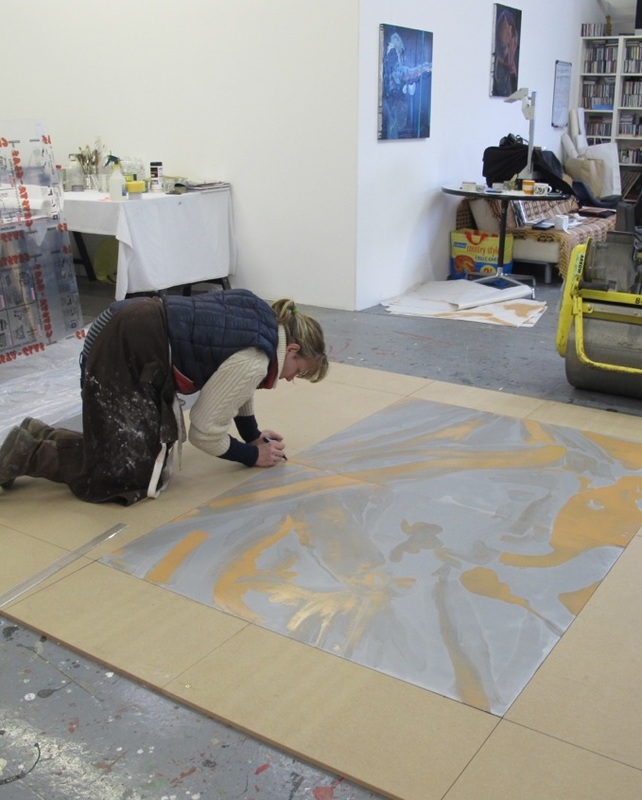
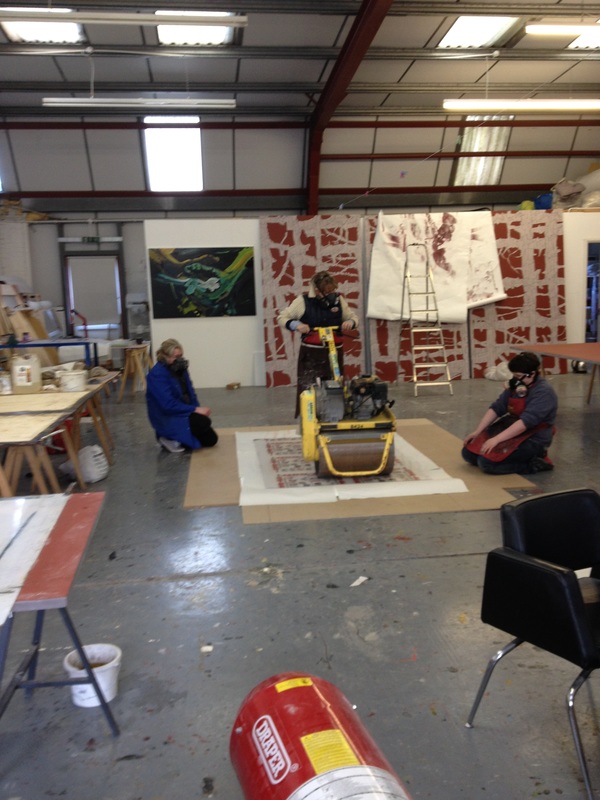
Clare Woods
I have had the pleasure of working with Clare on a few projects and she was also the first artist I collaborated with after completing my training at the Tamarind Institute. Clare is an incredible artist to work with, our working style is very similar; we are not afraid of hard work and work at a fast pace. I thrive when I am challenged, which Clare must have picked up on because apart from one of our editions, which was printed in a studio the rest have presented many challenges due to the environment (printing in a grain barn) or the sheer scale of the work (see Printmaking Today, Vol 22 No 3 Autumn 2013 ).


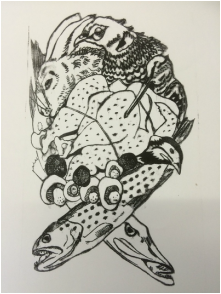
Mike Pare
All three of these images were create using a toner transfer paper I developed while studying at the Tamarind Institute. Mike was the first artist I collaborated with and at the time was making what he called, 'Blind Drawings'. He was putting paper on the wall then a home made graphite paper (like carbon paper) against it, then projecting an image to draw. The beauty of that method is you would get these accidental marks and softness to the drawn marks, that just wouldn't happen if you were to do a direct drawing. The question was how do we translate this to lithography?
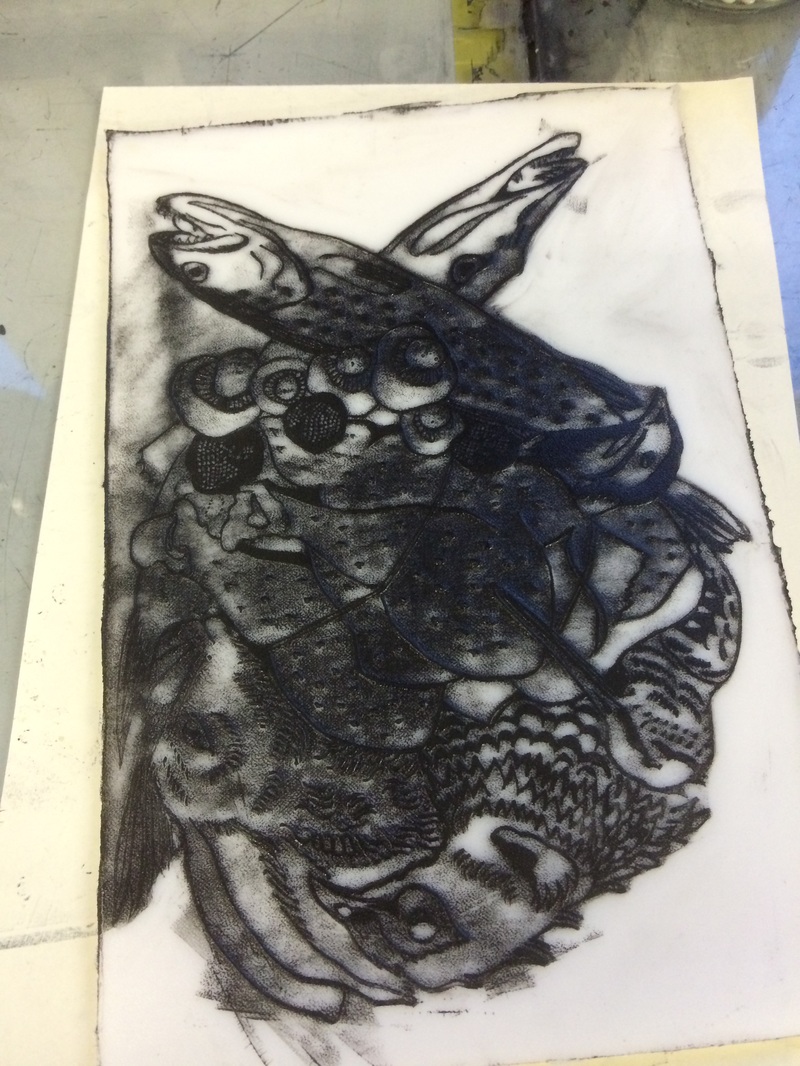
I decided to coat a sheet of thin paper with toner powder that would act like carbon paper and get transferred to the ball grained plate. Once the toner power is on the plate it can be set with heat and is ready to print. The mixture we used was 1 part toner to 2 parts alcohol (70%). Are first print the test in the middle worked a treat. Our second print which is the first image below, had some technical issues. We had a loss of detail and because the transfer paper used was from our first session we didn't know if it was that causing the problems, the pressure Mike applied when drawing or the heat fusion. Heat fusion is best when using either a pizza oven or a hot plate. if you can heat the whole plate evenly all at the same time you get the best results. A heat gun can also be used but you have to make sure you hit all areas of the plate evenly. If areas are not fused properly this will result in a loss of detail. The Frog image was created as a test to rule out issues with the transfer paper. A new mixture was made for the bike frame; this was a heavy application on a thick cotton rag paper. The background was a light application using the old transfer paper which was on a Rives mid weight paper. The Frog, tyres, basket and handlebars old transfer paper light application. We had no issues with any loss of detail which means our problem was due to not fusing the toner correctly. The great thing about taking a step back and carrying out this test print is we learnt a lot about the versatility of this newly developed transfer paper.
I decided to coat a sheet of thin paper with toner powder that would act like carbon paper and get transferred to the ball grained plate. Once the toner power is on the plate it can be set with heat and is ready to print. The mixture we used was 1 part toner to 2 parts alcohol (70%). Are first print the test in the middle worked a treat. Our second print which is the first image below, had some technical issues. We had a loss of detail and because the transfer paper used was from our first session we didn't know if it was that causing the problems, the pressure Mike applied when drawing or the heat fusion. Heat fusion is best when using either a pizza oven or a hot plate. if you can heat the whole plate evenly all at the same time you get the best results. A heat gun can also be used but you have to make sure you hit all areas of the plate evenly. If areas are not fused properly this will result in a loss of detail. The Frog image was created as a test to rule out issues with the transfer paper. A new mixture was made for the bike frame; this was a heavy application on a thick cotton rag paper. The background was a light application using the old transfer paper which was on a Rives mid weight paper. The Frog, tyres, basket and handlebars old transfer paper light application. We had no issues with any loss of detail which means our problem was due to not fusing the toner correctly. The great thing about taking a step back and carrying out this test print is we learnt a lot about the versatility of this newly developed transfer paper.